Support WBUR
How To Create Twitter 'Videos' For Your Audio
Suppose, like WBUR, you're creating more and more short, spoken-word audio. You obviously want to get that audio out to as many people as possible.
Have you thought about Twitter?
There's no native audio player in Twitter, so you can't just attach an MP3 to a tweet. (Though you can tweet out audio recorded through the Twitter interface, with voice tweets.) But MP3s can be displayed as "video" (with a single, static image). So how do you do that? And how can you automate this process?
Let's get to it.
From Audio To Video
The first step is to combine your audio and a JPEG into a short, single-frame MP4 video (basically, a one-frame slideshow). Fortunately, the Swiss Army knife that is ffmpeg makes that process relatively easy.
After a lot of trial and error (and some SuperUser), I came up with this one-liner:ffmpeg -loop 1 \
-y -i path/to/image.jpg \
-i path/to/audio.mp3 \
-c:v libx264 \
-c:a aac -b:a 192k \
-pix_fmt yuv420p \
-shortest \
path/to/final_video.mp4
Let's break that down.
-loopInfinitely loop over the same image to create the video.-yForce overwrite of output files. This is of course optional, but you'll find it very useful when first testing this out and running the same command over and over again.-i path/to/image.jpgDeclare the first input. In this case, it's your image. (In the case of our daily weather microcast, I use a basic 720x720 JPEG of the show's cover art.)-i path/to/audio.mp3Declare the second input, in this case audio. Ideally it's an uncompressed .wav, but an MP3 is just fine for our purposes.-c:v libx264Encode the video for the MP4 using x264-c:a aacEncode the audio for the MP4 using aac-b:a 192kEncode the audio at a bit-rate of 192k-pix_fmt yuv420pSet the pixel format to yuv420p. (I won't pretend to understand the intricacies of pixel formats. But I do know that if you forget this option, your video won't successfully upload to Twitter.)-shortestQuit when the shortest file ends. In this case, since the JPEG is "repeating" on an endless loop of frames, the shorter one would be the audio. I tried setting the duration with-t X, where X is the duration (in seconds) of the MP3. But the transcoding adds a second or two of time, and setting a hard duration could abruptly cut off the audio.path/to/final_video.mp4The location of your final video. I am creating an MP4, but it could also be a MOV file.
A great tool, by the way, for analyzing and debugging video files is MediaInfo (available via Homebrew and, thus, Mac only).
Create A Transcript
As mentioned in a previous post, it's worthwhile to have closed captions for your video. We like Amazon Transcribe, largely because it's cheap, fast and we already have an AWS account. And it can be accessed via the AWS Command Line Interface, which means the whole process can be automated.
Of course, you'll need an AWS account and some familiarity with AWS — particularly S3, Transcribe and the AWS CLI.
There are three steps. First, start the transcription job:aws transcribe start-transcription-job \
--transcription-job-name NAME_OF_JOB \
--language-code en-US \
--media-format mp3 \
--media MediaFileUri=s3://BUCKET/FILENAME.mp3
The transcription process is pretty quick, especially for a short audio clip, but still give it a few minutes. After waiting, check the status of the transcription job:
aws transcribe get-transcription-job \
--transcription-job-name NAME_OF_JOB
That should return some fairly human-readable JSON. Look for a property named TranscriptionJobStatus. If that has the value COMPLETED, you are good to go. Then find the Transcript object and then the TranscriptFileUri property inside it. That will be a very long HTTPS address of your newly completed transcript. Download the file to wherever you need it.
Convert Transcript To SubRip File
The one downside of using Amazon Transcribe is that you need one more step before you can upload the transcript to Twitter. Specifically, you'll need to convert it into a SubRip (aka .srt) file. Fortunately, there are a number of tools for this, which, again, allows for automation:
- A simple online GUI
- A Bash script
- A PHP script (with a Python port)
- A package created by us at WBUR, which includes a Python script and a standalone HTML form.
Set Up Twitter API Access
Getting access to the Twitter API is not terribly complicated, but it's still a pain. You'll first have to become a Twitter "developer." Then you have to register your "app" (even if it's just a few scripts and a cron job). Then wait for approval. Then gather up all the app's Twitter keys and tokens; you'll need those for the next step. Finally, you should save yourself some possible hassle and review Twitter's media upload specs.
It's Time To Post
Now you can finally post your video to Twitter using the API (though you might want to try the manual method first, via the Twitter Media Studio).
There are any number of ways to do this. I love Python, so, after some initial trial and error, I chose the python-twitter library. It's the best one that I could find that has media asset functionality. (Though, as of this writing, only the master branch has it.)
There are four basic steps:
- Upload the video
- Upload the .srt file
- Connect the video and the .srt
- Tweet out the video
Put It All Together, On A Server
If your tests have have worked successfully on your laptop, you might want to try this on a public server. I've put together templates of all the various scripts into one GitHub repo, with a README file.
Automate All The Things!
Finally, you'll want to set up a few cron jobs to call the various scripts in the proper order.
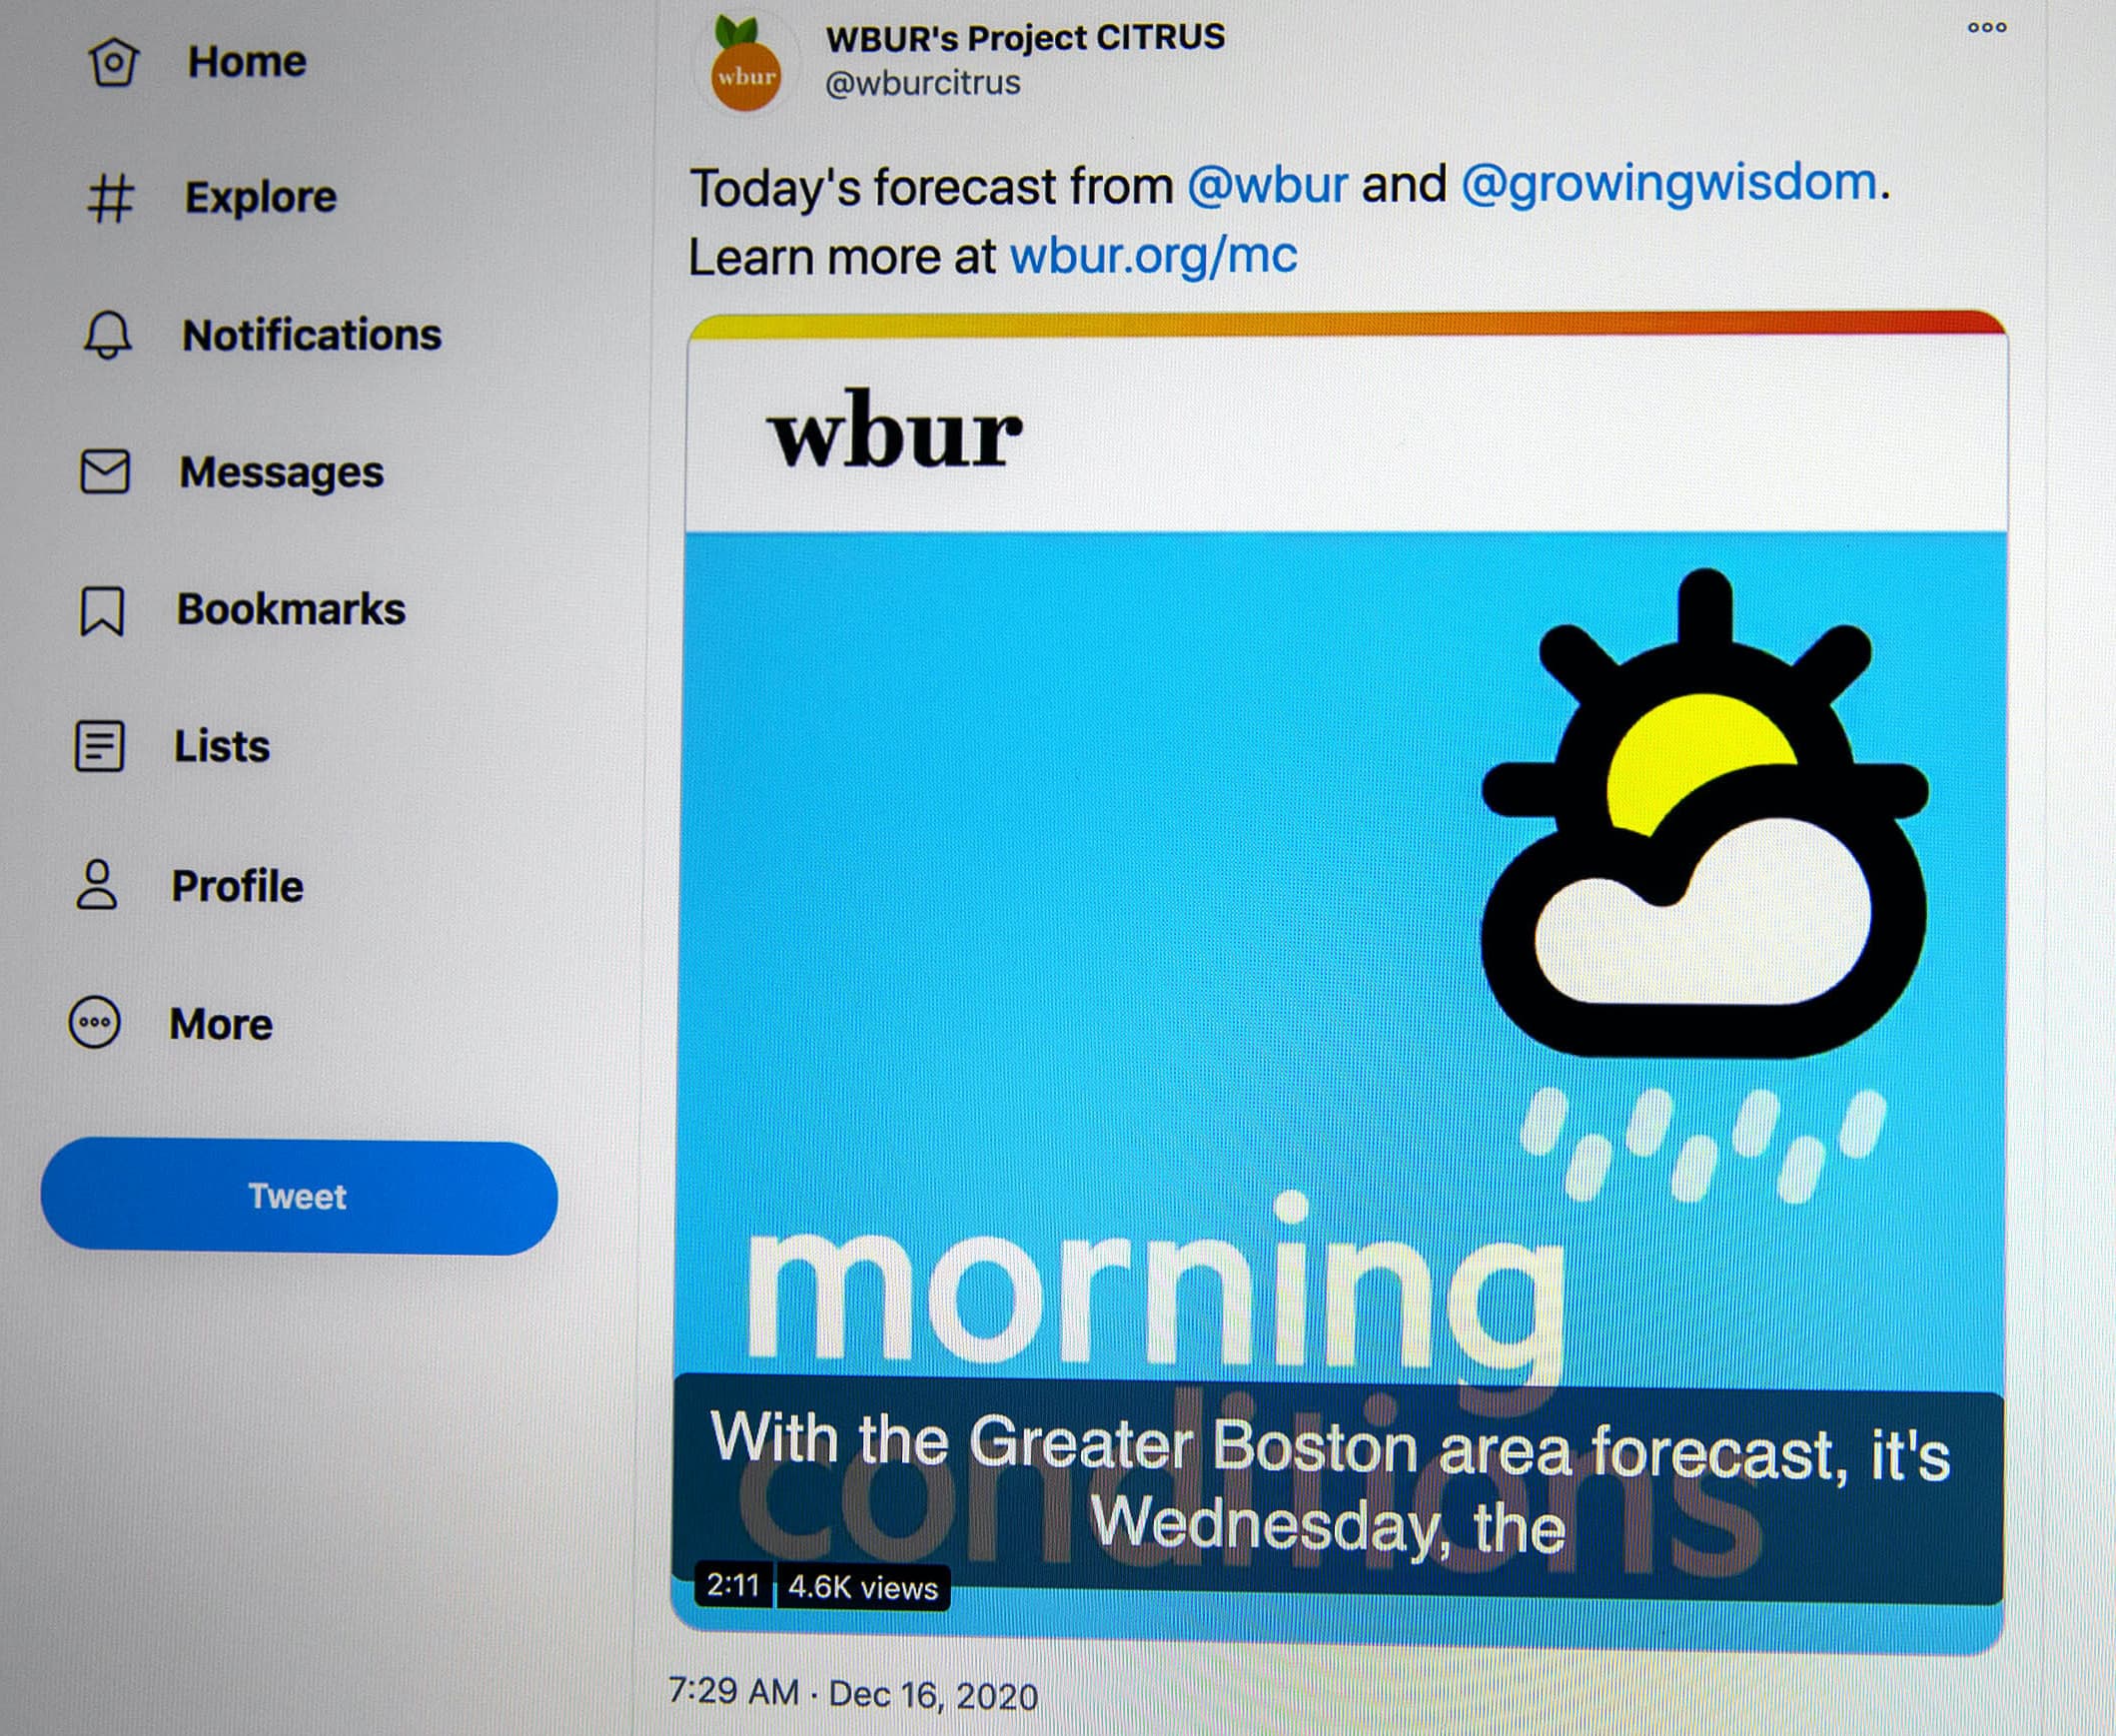
For our daily weather microcast, we start the AWS transcript job in the middle of the night. Then, an hour later, we start the video conversion process. An hour after that, long after the transcript job is done, we download the transcript and convert it to an .srt file. Then, bright and early at 6 a.m., we upload the video and .srt, then tweet it out. When I get in at 8 a.m., I watch the video, make any changes to the transcript (e.g., "Patrick Frost" should be "patchy frost") and re-upload the file (.srt files can be overwritten via Twitter Media Studio).
But generally speaking, it's a very hands-off process. The finished product looks like this:
