Support WBUR
Can't Make a Pie? Don't Panic! 'Pie Academy' Cookbook Comes To The Rescue
If you need help baking pie this Thanksgiving, take a course at food writer Ken Haedrich's "Pie Academy."
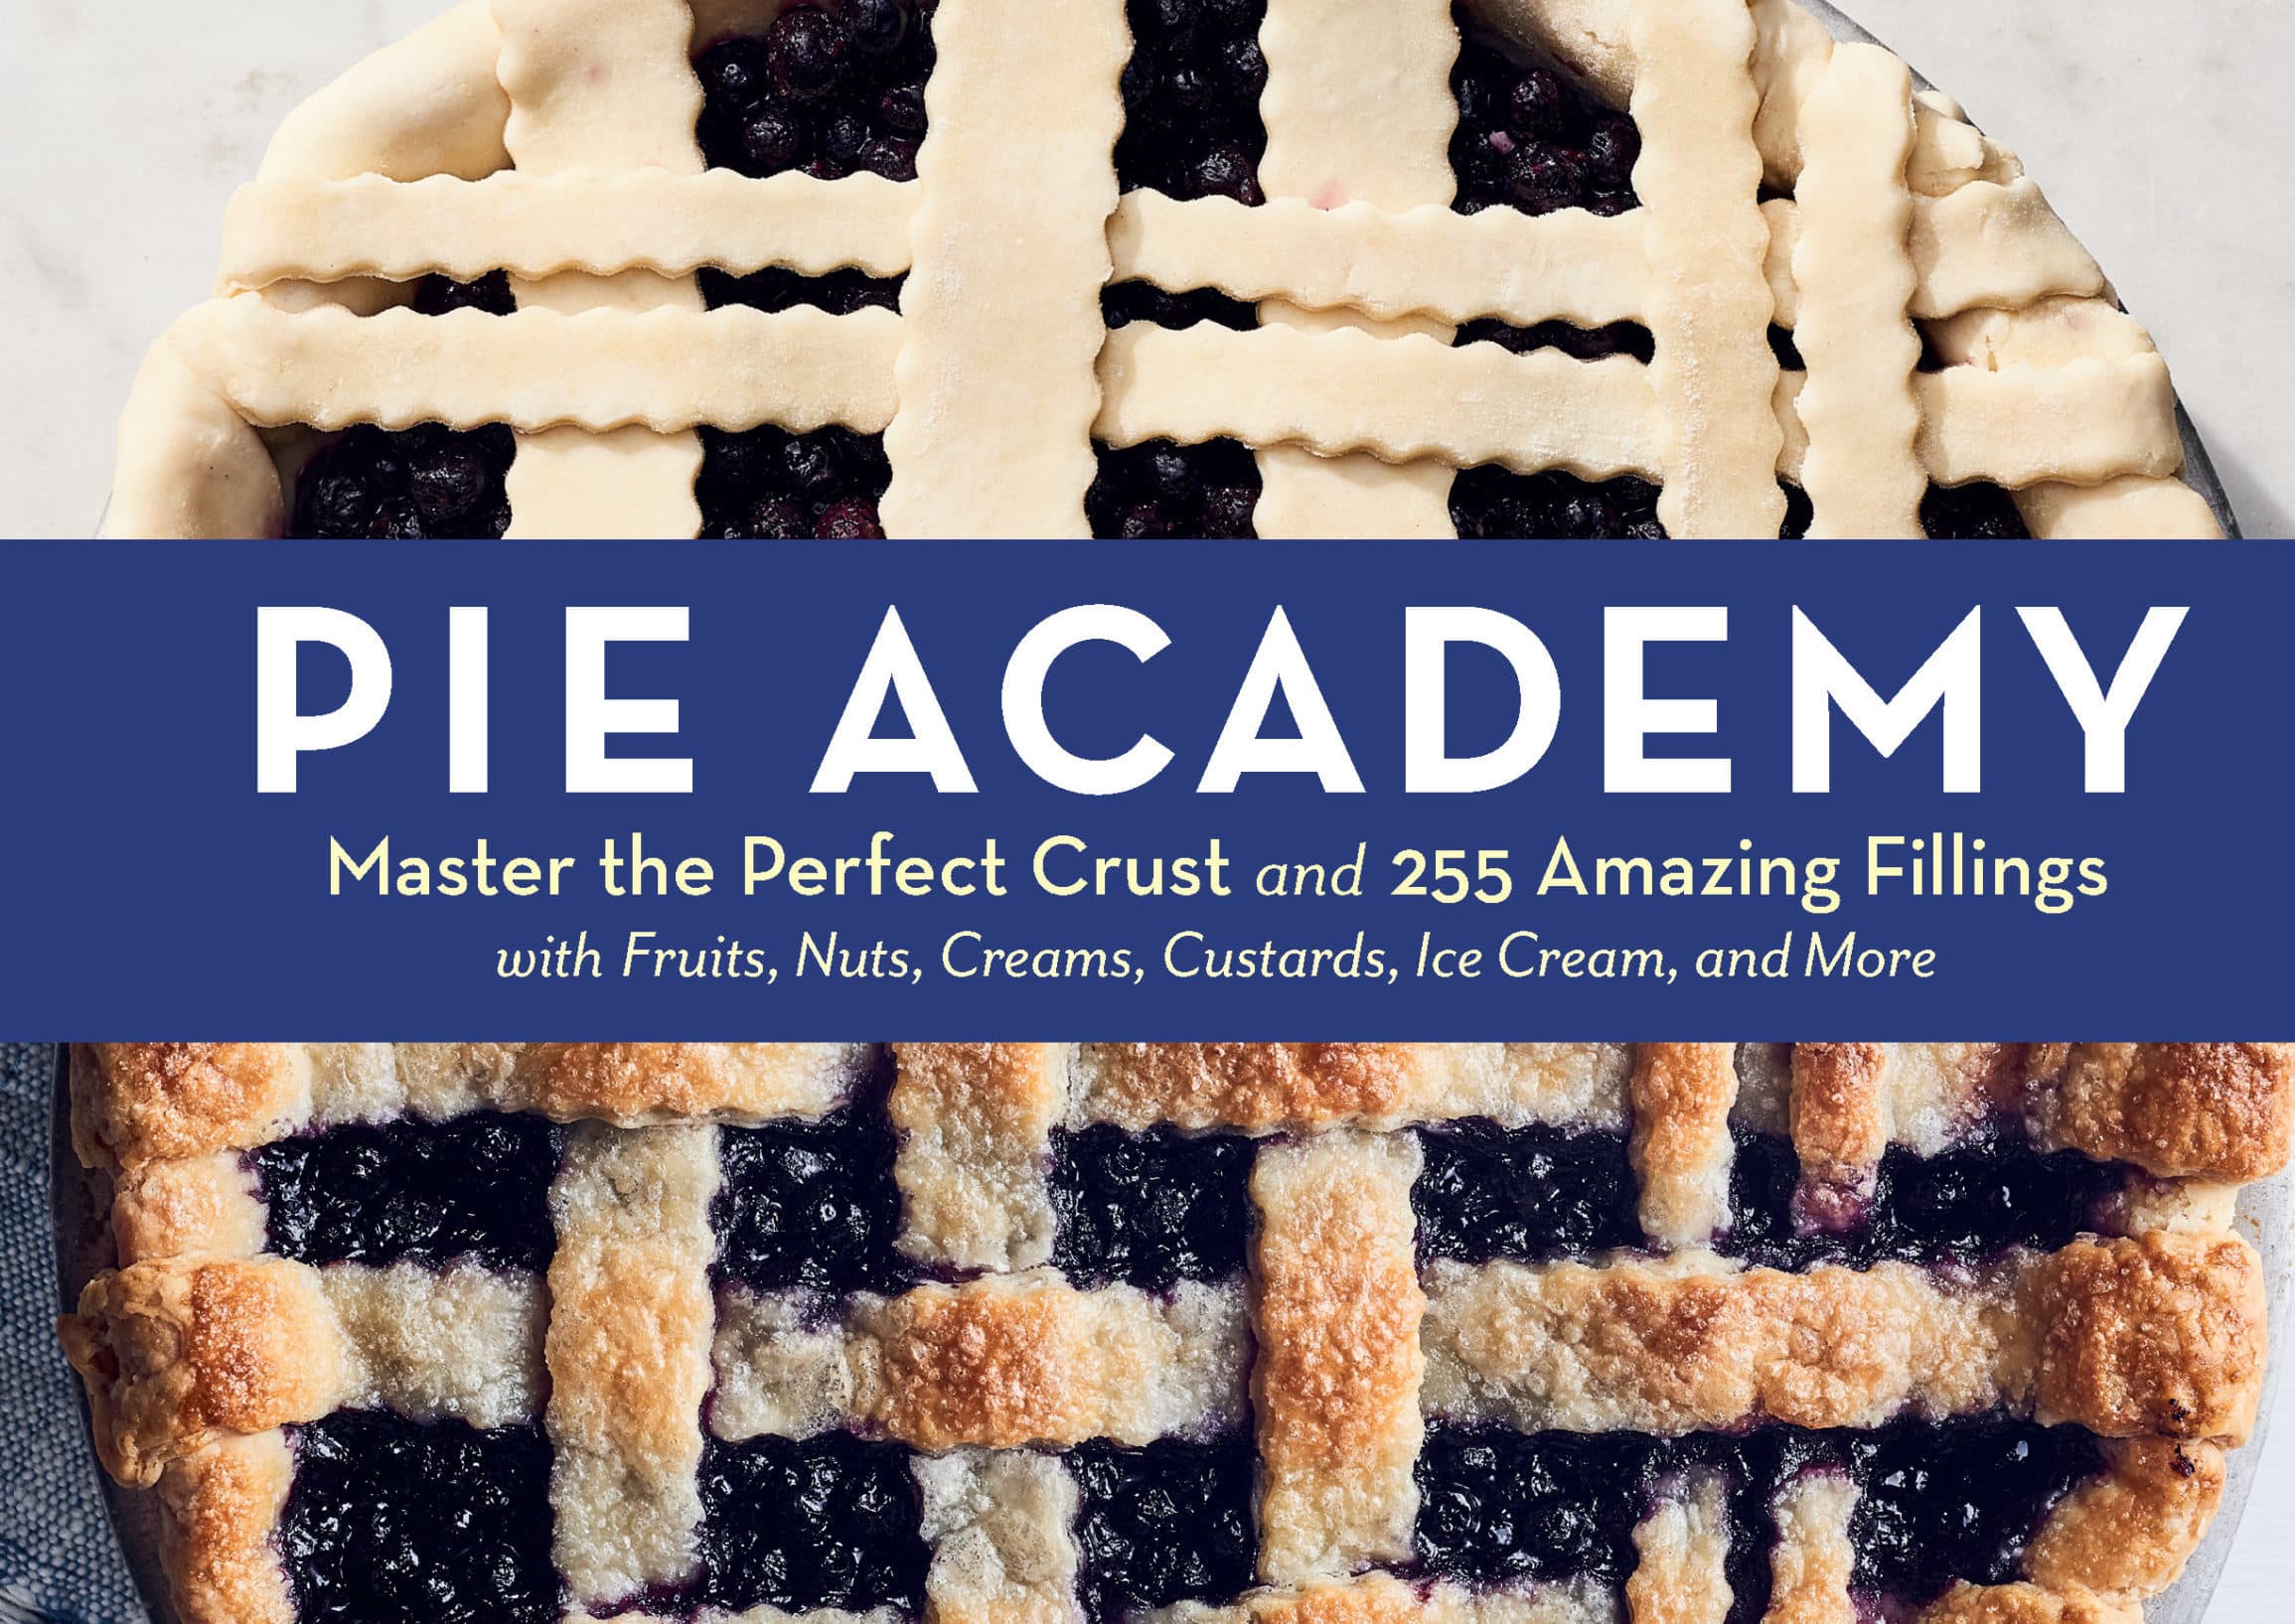
The new cookbook features more than 250 decadent recipes for black bottom peanut butter cloud pie, savory fig and walnut pie, and butterscotch nut custard pie. And Haedrich writes that inexperienced bakers shouldn’t fret: "Your dough cracks and falls apart. It sticks to your counter like superglue. Your pies are too ugly to bring out in public. This and more. I feel your pain. And you've come to the right place, because I can help."
“Pie Academy” also includes more than 20 crust recipes as step by step guidance on everything from crimping and rolling to lattices and vents. Store-bought crust does the job, Haedrich says, but homemade crust made with fresh ingredients tastes much better.
“You're missing the fun of making your own pie crust, to get your hands down into those raw ingredients, that cool butter and that flour and to cut those ingredients together,” he says. “I mean, that's really good, simple fun. And I love doing it.”
For bakers using butter as the fat in their crust, Haedrich advises cutting it into cubes and dusting them in flower to prevent it from getting gummy. And to prevent gooeyness when cutting the fat, stick the whole bowl and the dough cutter in the refrigerator to chill before rolling it out.
Then, roll the dough out on wax paper. Use the paper to carry the dough over to the pie plate, he says. And pick up a mixing fork to assist in making dough by hand.
Thanksgiving won’t look the same for most Americans this year — but pie unites people even during divisive times, Haedrich says.
“Pie brings people together. Pie is poetry that makes the world a better place, I like to say,” he says. “You put a pie in the middle of a table and all of a sudden people's differences fall away. It's just magic.”
Interview Highlights
On the best crust for Thanksgiving
“Right at the front of the crust section, there's how to make perfect pie dough by hand. And that's where I would start. There's two very basic crusts upfront. One is making it in the food processor and one is making it by hand. Knowing that this is the thing that really trips people up the most, we have a pretty extensive section, an extended tutorial at the front of the book about how to cut the ingredients in, how to handle the dough and how to roll it and get it in the pan. So, you know, start with one of those basic crusts.”
On fruit pies
“This time of year, you know, everyone wants to know what type of apples are the best type of apple to use. I always say don't worry too much about what type of apple. As long as you don't use Red Delicious, which really doesn't live up to its name. You know, Galas, Fuji, things like that. Definitely use fresh fruit. And one of the things I love to do with my fall fruit pies is add pears to them. Pear adds this beautiful floral flavor to them and aroma. And for Thanksgiving pie, I might throw in some cranberries, too. It adds a nice tartness and color. And the winter, I like to use frozen fruit, like if I want a berry pie. Definitely use frozen blueberries or something like that. But this time of year, fresh fall fruit, the later it gets. I like to use frozen fruit in my winter pies.”
On blind baking
“Blind baking refers to a process where you actually pre-bake the crust for a little bit. And you do this because oftentimes you have like a moist filling, like a custard filling or even a pumpkin pie filling. If you put that into a raw, fully uncooked dough, it's going to saturate. The dough is going to come out wet. So you do this process called blind baking, where you actually partially pre-bake the crust and it helps prevent against that soggy crust syndrome.”
On venting the crust
“The venting on the top crust is pretty important. And the main purpose of that is to just let off a little steam so the crust doesn't split around the side seam. But also when I make vents in the top of the pie, I like to put several right next to the edge. And the reason I do that is I like to check the juices there later. After about 45 minutes to an hour, you should be able to see thick juices coming up through that hole. That means your thickener has worked and the pie filling is done.”
On protecting the pie’s edges
“You can buy these little gadgets that will help protect that edge like that. Or you can take these little foil strips and connect them and use that to cover that part of your pie. I never worry too much about it because in the grand scheme of things, that's probably only about 5% or 10% of your pie real estate. So it's not something to get too concerned about.”
On mailing pies
“First of all, you have to decide, should you mail it? And now if you're talking about your double crust, apple pie or something like that, it's hardly worth mailing because after two or three days wrapped in plastic and that sort of thing, the top crust isn't going to be very great and the pie is past its prime. So you have to start by picking the right type of pies. And that's usually the more durable ones like the pecan pie. That's really a great one to ship. Obviously, you don't want to send, you know, a creamy pie like that because those won't hold up. So you want to ship your pecan pie. You put it in the freezer the night before. You take it out of there, really wrap it up good in plastic wrap and then get a big box with lots of padding on all sides. And that pie should arrive in good shape.”
Karyn Miller-Medzon produced and edited this interview for broadcast with Tinku Ray. Allison Hagan adapted it for the web.
Book Excerpt: 'Pie Academy'
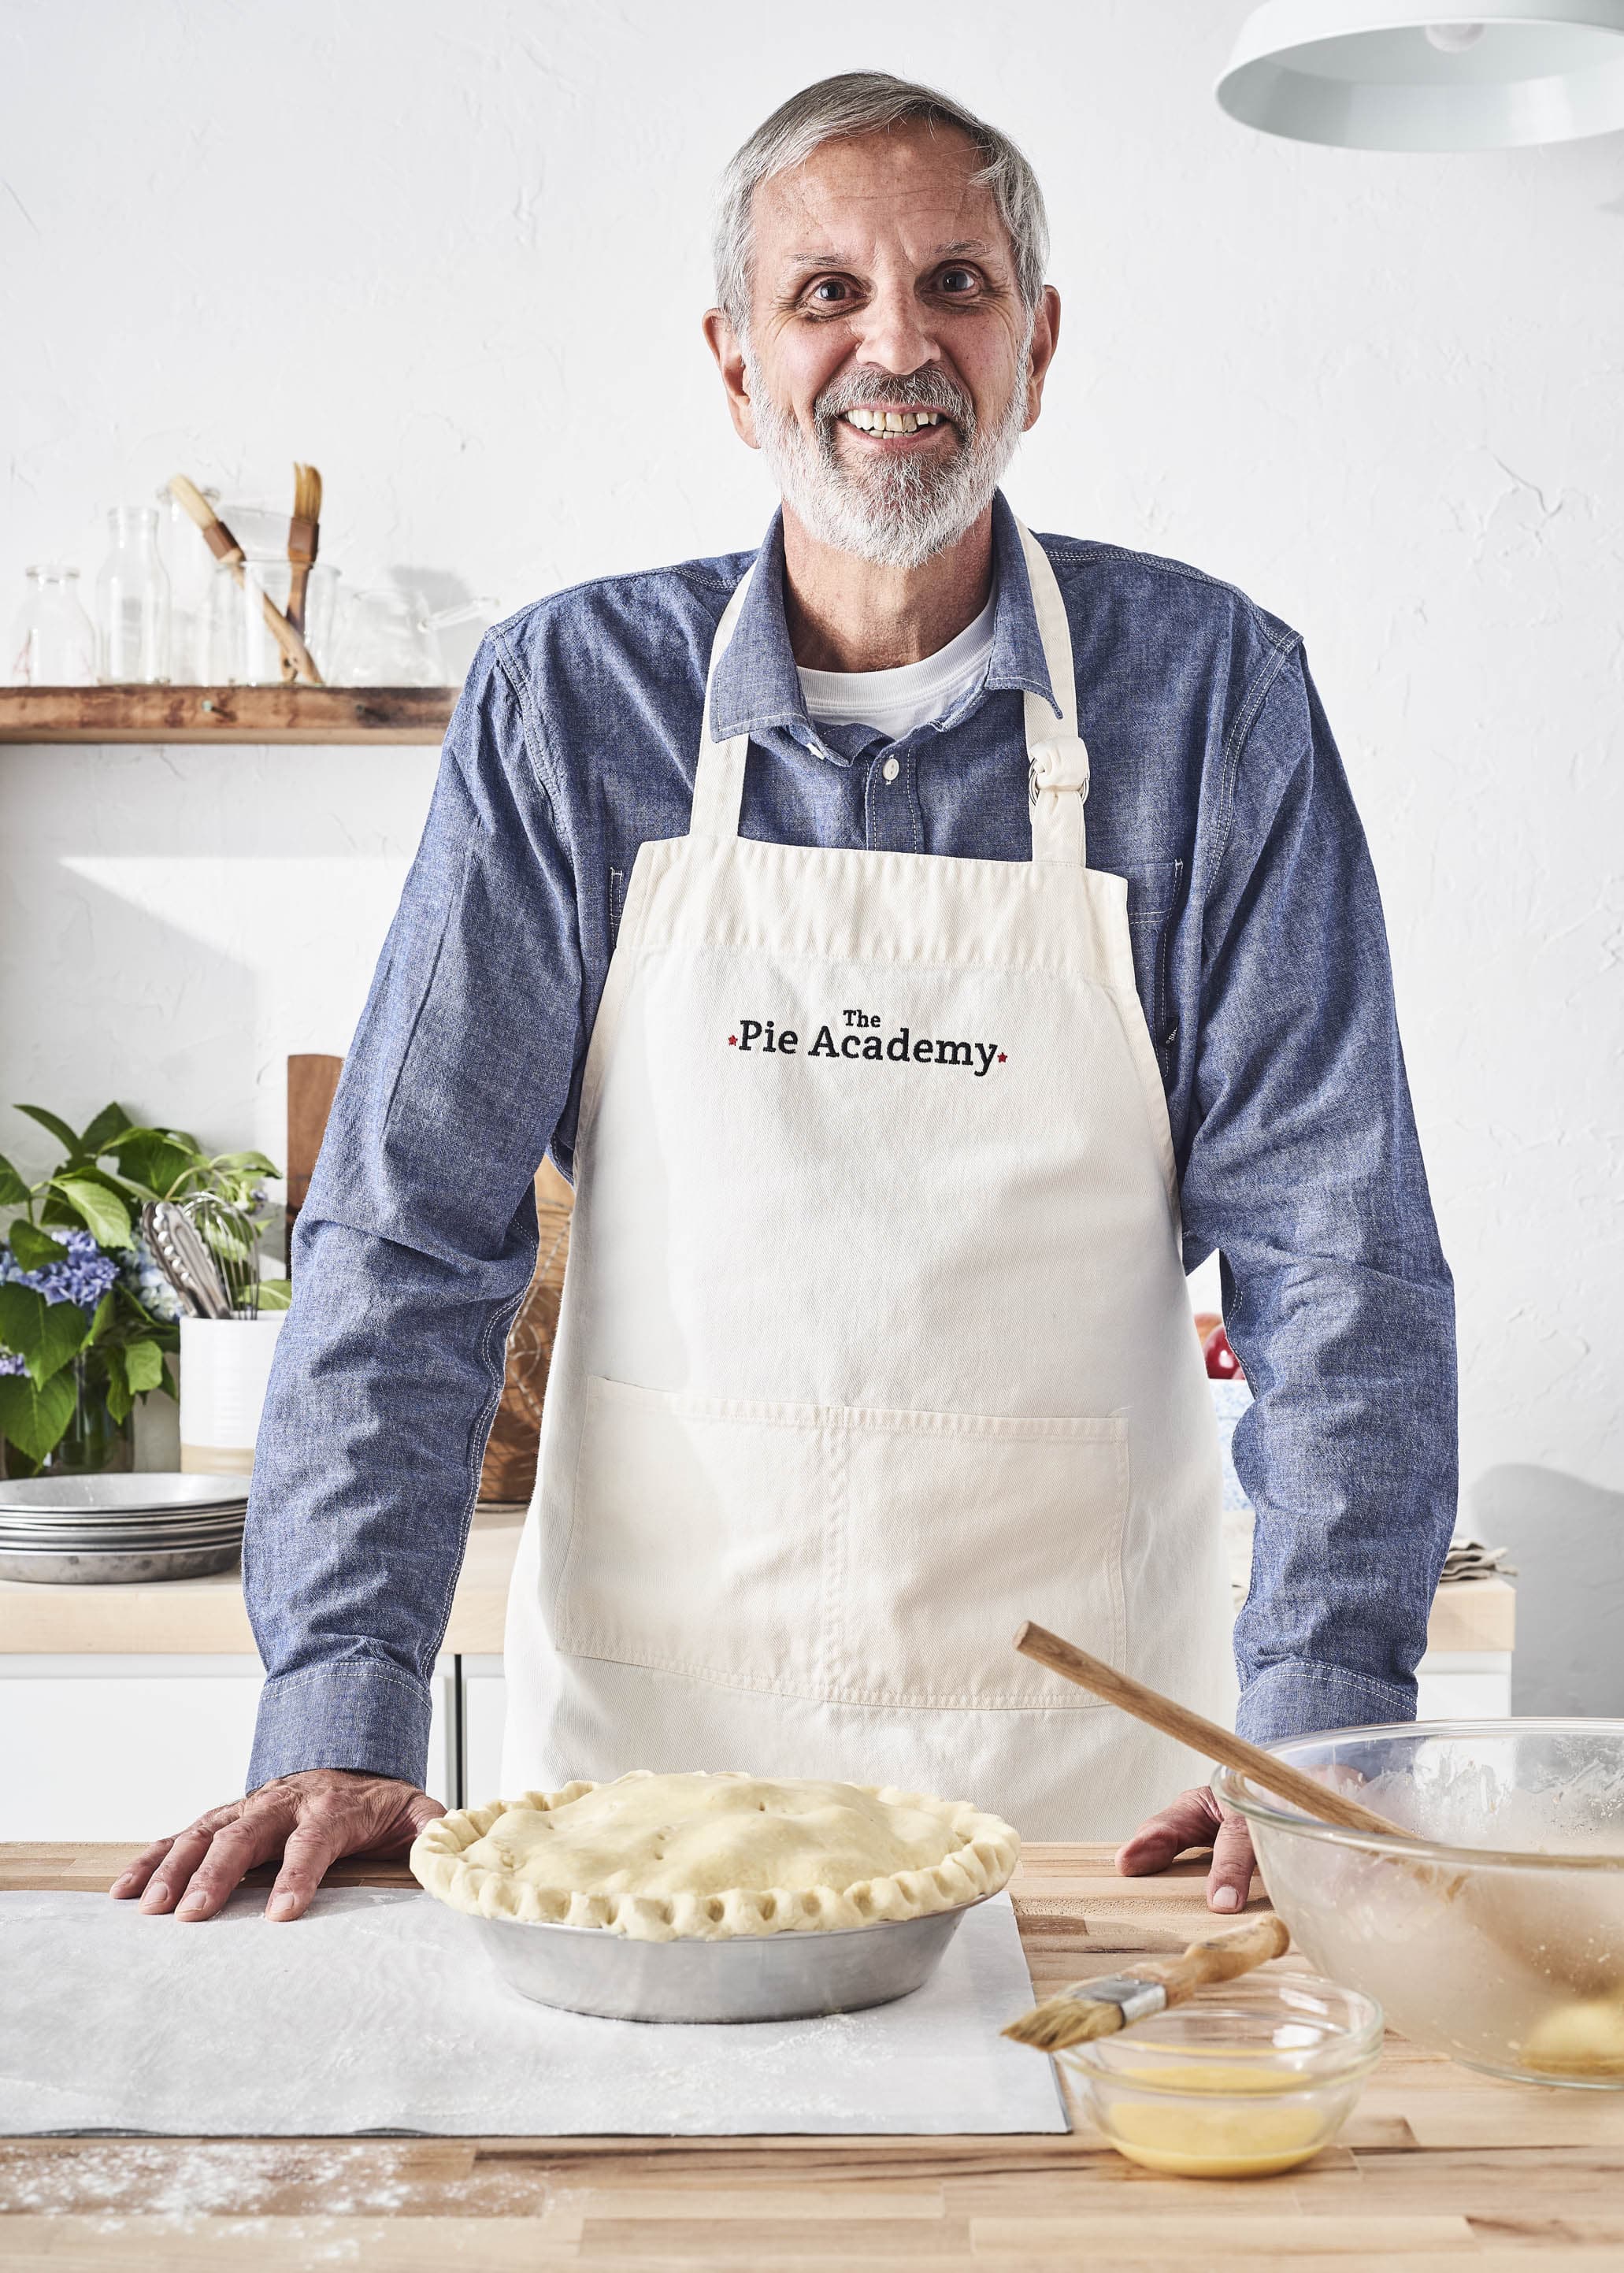
By Ken Haedrich
The Pie Preface
So you love baking pies and are ready to explore a wider world beyond apple, pumpkin, and pecan. Or you want to learn how to bake a pie from scratch and you don’t know where to begin. Or you know where to begin and do so with the best of intentions, but your pies keep throwing you curve balls. Your dough cracks and falls apart. It sticks to your counter like superglue. Your pies are too ugly to bring out in public. This and more. I feel your pain. And you’ve come to the right place, because I can help.
By way of introduction, I’ve been writing cookbooks for nearly 40 years — 15 of them, in fact, including two collections of sweet pies and one of savory pies. This book is an updated, revised, and — if I may say so — totally awesome-ized edition of my outsize book, Pie, originally published in 2004. I caught the pie-making bug early on from my dad, a regular weekend pie maker, and my mom, his loving pie partner. Even as a young child, it was clear to me that there was special magic happening in those shared moments. Whether the pie making enhanced their relationship or their relationship brought special joy to their pie making, I could not be sure. But I was lucky to be an observer of that Sunday tradition.
When I started making my own way in the world, I naturally gravitated toward the kitchen. Somewhere along the line I started cooking for a living, writing magazine articles and cookbooks, and teaching baking classes. After a number of years of this, I woke up one day and realized I had become the de facto Dear Abby for pie makers. Home cooks from around the globe were leaving their pie baggage in my email inbox, a heavy burden of pie woe. I’d unpack it and write back, trying to help sort out their issues. So I started a website — ThePieAcademy.com — to expand my reach, help even more home bakers, and become a cheerleader for home pie baking. I created pie-making videos and online pie courses to help and encourage folks to find contentment and achieve mastery in our chosen craft.
Offline, The Pie Academy holds pie getaways in different parts of the country where our members come to hone their skills and enjoy the community of fellow pie makers. I hope you’ll join us someday. As the “dean” of The Pie Academy I’ve become acutely aware of the questions and quandaries that you have or will have as a pie maker. You may be frustrated, and understandably so. We’ve all been told that pie making is easy — as easy as pie, right? — but I can tell you for a fact that most home cooks encounter plenty of speed bumps and fender benders on the road to pie mastery. And I have about 10,000 emails to prove it.
I field questions from pie makers who want to know whether they should use butter, lard, or vegetable shortening for their crust; how to know when they’ve added enough water; if they have to refrigerate the dough; why the dough always sticks or falls apart on the way to the pan; why the berry pie is runny, the apples aren’t tender, or the pastry cream didn’t set up; why the pie shell shrunk — and I’m just getting warmed up. You will find the answers to all those questions, and many more, in the pages that follow.
One thing you won’t find here are detailed instructions on creating labor-intensive pastry still lifes, the sort of pies that become Instagram starlets. I admire anyone who has the patience and talent to turn their top crusts into geometric masterpieces and stunning artwork. I’ll even confess to a smidgen of jealousy; I’m more of a stick-figure artist myself. But this is pie we’re talking about, the province of home cooks, and I’m afraid these fancy pies sometimes scare more people away from pie making than they attract.
That said, you will find instructions on making decorative lattice tops, attractive crimped edges, peekaboo crusts, and a good many other pastry flourishes, plus virtually everything else you need to know to make fabulous sweet pies in every category imaginable.
There are no shortcuts to learning how to make good pie. Pie making is part science, part “feel” or baker’s intuition. Recipes alone can only take you so far. Beyond that, pie making requires practice and cultivated instincts for all the little nuances. You’ve got to roll up your sleeves and get into the flour. The fact that you’re here tells me you’re ready to go down this path. You’ve probably had a taste of the real deal — the flaky texture of a homemade crust, the creamy goodness of a velvety custard pie, or the sweet satisfaction of a fresh peach crumb pie in August — and you’re unwilling to settle for anything less.
I’m excited to join you on your pie journey; thanks for choosing me as your guide. I hope you’ll be patient with yourself and enjoy the trip. Nobody learns to make great pies in a couple of weekends; I sure didn’t. Don’t rush toward mastery. Take your time, observe, make notes in the margins, try stuff that makes you a little nervous, and don’t be afraid to make mistakes or ugly pies. Enjoy the process, have a laugh, and share everything you make. One day you’ll wake up and realize you’ve nailed this pie thing.
If I can make one more suggestion: unless you’re an experienced pie maker, don’t skip part one, where I walk you through the nuances of making pie dough from scratch. This mini baking class will teach you many of the fine points of making pie dough and assembling a pie, and steer you clear of the usual obstacles. I think you’ll get a lot out of it. From there, I hope you’ll dive right into the recipes and get baking. Keep me in the loop, send me an email at The Pie Academy, and let me know how you’re doing. I look forward to hearing from you. —KEN HAEDRICH, dean of The Pie Academy
Recipes from 'Pie Academy'
Perfect Pie Dough by Hand
If you’re new to pie making, begin with this dough. This is the streamlined version of the tutorial recipe explained in detail in chapter 3. That illustrated recipe will help you read between the lines and understand the finer points of making this or nearly any other pie dough recipe you come across.
One 9- to 91/2-inch standard or deep-dish pie shell
1 1/2 cups all-purpose flour
1½ teaspoons cornstarch
½ teaspoon salt
10 tablespoons (1¼ sticks) cold unsalted butter, cut into ½-inch cubes, or 8 tablespoons (1 stick) cold, cubed unsalted butter plus 2 tablespoons vegetable shortening or lard in small pieces
2 teaspoons white vinegar
¼–1/3 cup cold water
- Combine the flour, cornstarch, and salt in a large bowl. Scatter the fat on a large flour-dusted plate. Measure the vinegar into a 1-cup glass measuring cup. Add just enough cold water to equal 1/3 cup. Refrigerate everything for 10 to 15 minutes.
- Add all of the fat to the dry mixture, tossing the fat with the flour to coat it well. Using your fingers, squeeze the fat to flatten out the butter and smear it with the flour. When the cubes are flattened, switch to a pastry blender and continue to cut the fat into the flour until the largest pieces are about the size of small peas and everything looks like it has been touched by the fat. At that point, rub everything between your fingers for 30 to 45 seconds to make sure no dry pockets remain.
- Mound the ingredients in the center of the bowl. Drizzle about half of the water down the sides of the bowl, turning the bowl as you pour so the water doesn’t end up all in one place. Using a large fork, lightly mix the dough, tossing it from the perimeter toward the center of the bowl. Don’t compress the dough at this point; you’re trying to spread the moisture around. Sprinkle half of the remaining water over the dough and toss again. Finally, sprinkle all but the last tablespoon of liquid over the dough and stir vigorously. The dough should start to gather in large clumps, but if it is dry in places, add the last bit of water.
- Turn the dough out onto your work surface and pack it into a ball, then knead it several times to smooth it out. Put the dough on a sheet of plastic wrap and flatten it into a 3/4-inch-thick disk. If the edges crack, don’t worry; just pinch them back together. Wrap the disk and refrigerate for at least 1 hour before rolling.
Double-Crust Version
To make this a double-crust recipe, simply double all of the ingredients and proceed as above. When you turn the dough out onto your work surface, divide it in two, making one part — for the bottom crust — a little larger than the other. Wrap the pieces separately in plastic wrap and refrigerate for at least 1 hour before rolling.
Triple-Layer Pumpkin-Chocolate Pie
If you never imagined chocolate and pumpkin as great pie partners, this pie will surprise and delight you. There’s a “plain” pumpkin pie layer, a chocolate-pumpkin layer, and sweetened sour cream layer on top. It’s the one pie my wife, Bev, must have every fall. You may feel the same once you’ve tried it.
Makes 8–10 servings
Perfect Pie Dough by Hand (page 56) or another single-crust dough
Filling
2 tablespoons unsalted butter
4 ounces semisweet chocolate, coarsely chopped
12 ounces full-fat or reduced-fat cream cheese, softened
1½ cups sugar
2 large eggs, at room temperature
1 cup pumpkin purée, canned or fresh (see page 221)
½ teaspoon vanilla extract
¼ teaspoon ground cinnamon
¼ teaspoon ground nutmeg
¼ teaspoon ground cloves
¼ teaspoon salt
1 cup full-fat sour cream
- Prepare and refrigerate the pie dough. Roll the dough into a 12 1/2- to 13-inch circle and line a 9- to 9 1/2-inch deep-dish pie pan with it, shaping the edge into an upstanding ridge. Flute or crimp the edge, chill the shell, and partially prebake it according to the instructions on page 36.
- Preheat the oven to 350°F (180°C). Place the butter in the top insert of a double boiler set over, not in, barely simmering water. (Alternatively, use a heatproof bowl, suspended by the sides of a saucepan, over barely simmering water.) When the butter is partially melted, add the chocolate. Heat until the chocolate has melted, then whisk to smooth. Remove the insert. Let the chocolate partially cool.
- Using an electric mixer (handheld is fine), cream the cream cheese on medium-high speed in a large bowl, gradually adding 1 1/4 cups of the sugar. Beat in the eggs, one at a time, beating well after each addition. Add the pumpkin, vanilla, cinnamon, nutmeg, cloves, and salt, and blend until evenly combined. Pour slightly less than half of the filling into a separate bowl and stir in the melted chocolate until evenly blended. Pour the chocolate filling into the cooled pie shell and gently shake the pan to settle the filling.
- Place the pie on the center oven rack and bake for 20 minutes. Transfer the pie to a rack and cool for 15 minutes.
- Carefully ladle the remaining plain pumpkin filling over the chocolate layer. Shake the pan gently to settle the filling. Bake for 35 to 40 minutes, until the pumpkin layer is set. When done, the perimeter of the filling will have puffed somewhat but not so much that it develops large cracks.
- Transfer the pie to a rack and cool until the filling settles and flattens out, 30 to 45 minutes.
- Combine the sour cream and the remaining 1/4 cup sugar in a small saucepan over very low heat. Warm the mixture, stirring often, for 2 or 3 minutes. When the sour cream has thinned and is slightly warmer than body temperature, slowly pour it over the top of the pie. Immediately shake and tilt the pie so the topping spreads and fully covers the layer underneath. Cool thoroughly, then cover with loosely tented aluminum foil and refrigerate for at least 3 to 4 hours before serving. Cover and refrigerate leftovers right away.
Excerpted from Pie Academy © by Ken Haedrich. Used with permission from Storey Publishing.
This segment aired on November 18, 2020.